
Previous article -> Introduction to Docker - pt.1
Images and Containers
An image is an ordered set of root filesystem updates and related execution parameters to be used in a container runtime; it has no state and is immutable.
A typical image has a limited size, doesn’t require any external dependency and includes all runtimes, libraries, environmental variables, configuration files, scripts and everything needed to run the application.
A container is the runtime instance of an image, that is, what the image actually is in memory when is run. Generally a container is completely independent from the underlying host, but an access to files and networks can be set in order to permit a communication with other containers or the host.
Conceptually, an image is the general idea, a container is the actual realization of that idea. One of the points of strength of Docker is the capability of creating minimal, light and complete images that can be ported on different operating systems and platforms: the execution of the related container will always be feasible and possible thus avoiding any problem related to the compatibility of packages, dependencies, libraries, and so forth. What the container needs is already included in the image, and the image is always portable indeed.
The image is created from a Dockerfile, which is a text document containing the precise instructions for its creation that are executed when creating the image.
A typical Dockerfile contains a base-image acting as the “skeleton”, labels providing information about the image and the maintainer, commands (as they were run from a shell), any host file to be included, ports exposed, environment variables and commands to be run once the container is running.
Images (and thus containers) created from the same Dockerfile are all the same, regardless of the operating system and the architecture of the host: this is how the pernicious problem of portability and compatibility of applications is brilliantly solved.
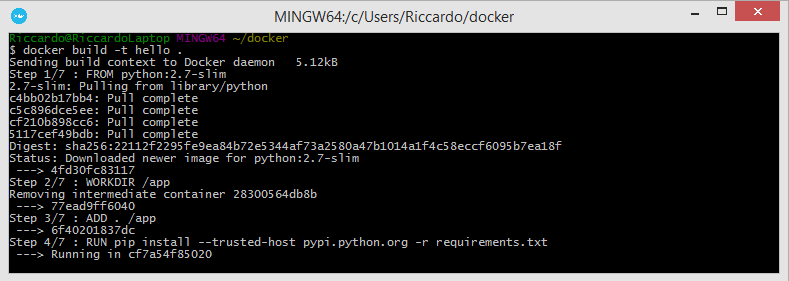
An example of a Dockerfile is the following one, which is from the official documentation; it customizes the Python 2.7 base-image with slim tags (the one with the least dependencies) and then runs the app.py application.
# Use an official Python runtime as a parent image
FROM python:2.7-slim
# Set the working directory to /app
WORKDIR /app
# Copy the current directory contents into the container at /app
ADD . /app
# Install any needed packages specified in requirements.txt
RUN pip install --trusted-host pypi.python.org -r requirements.txt
# Make port 80 available to the world outside this container
EXPOSE 80
# Define environment variable
ENV NAME World
# Run app.py when the container launches
CMD ["python", "app.py"]
Docker Hub
Docker Hub is the Cloud-based image registry provided by Docker: here you can find images uploaded by users and official images created by the developers of apps.
When you create a container, or an image that requires another base-image, Docker finds them here unless you specify another registry (local or Cloud).
Creating a Docker ID, ie an account, you can upload (push) your own images in your own repository (a private one is provided for free, additional ones are paid) and distribute them also with your colleagues with the “Organizations” feature.
The automated build automatically compiles images from a build context on the repo each time it’s modified, that is, everytime some work is done. A build context is just a Dockerfile and any associated file. This way images are always generated as specified, the repo is always synchronized with the modifications on the code and the Dockerfile is available to everybody who accesses the repo. Automated Builds are available on private and public repos on Github and Bitbucket.
Official repos, like for instance the one of Nginx, provide a clear and complete documentation, best practices, examples and they’re constantly scanned with the Security Scanner service by Docker,
From an operational standpoint, you need to login with the related command to Docker Hub;after that you can attach ID tags, called docker tags, to images and finally upload them to the registry with docker push username/repository:tag.
Basic Operations
Let’s see how to create a container from a Dockerfile. First, the image is created from the Dockerfile with the docker build command.
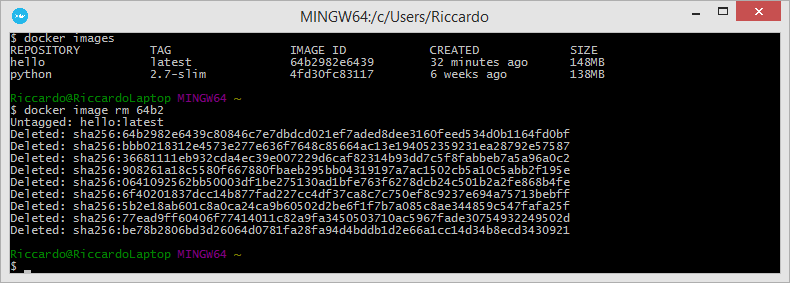
docker images instead lists every available image.
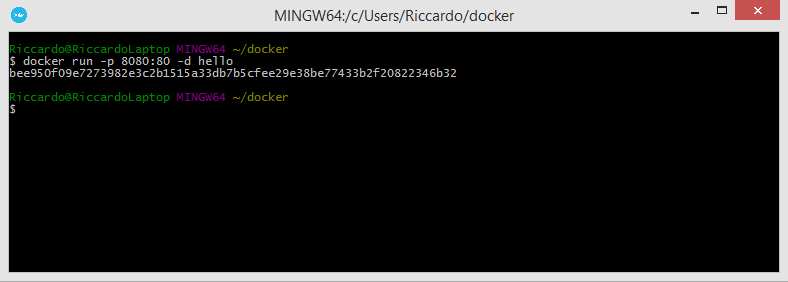
Then you can run the container with docker run. The assigned parameters map port 80 of the container to port 8080 of the host (-p 80:8080 -- mapping works as host:container), run it in detached mode (ie in background) and specify which image to build the container from. In this case the container runs an app available at 192.168.99.100:8080 within a local browser.
If you want to use an image from the Docker Hub or another repository, then you must download it with docker pull; on a general Docker Hub page, like the one shown in the image below, there’s a box with the complete and correct command to copy and use. The creation of the container is the usual one.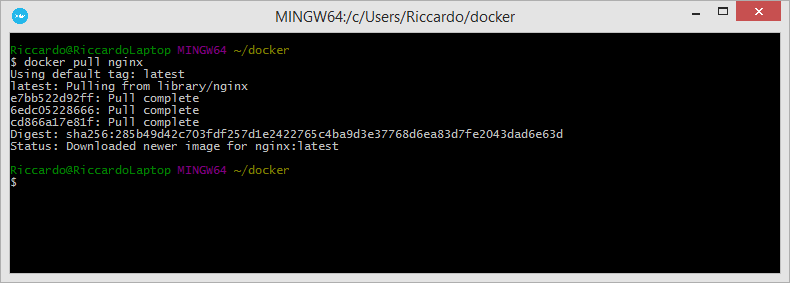
The docker ps command is very useful: it shows information such as running containers, their state, IP, executed commands and port mapping. You can achieve a similar result with docker container ls: you’re given information on IDs, images, commands and creation date. The addition of the -a parameter shows stopped containers too.
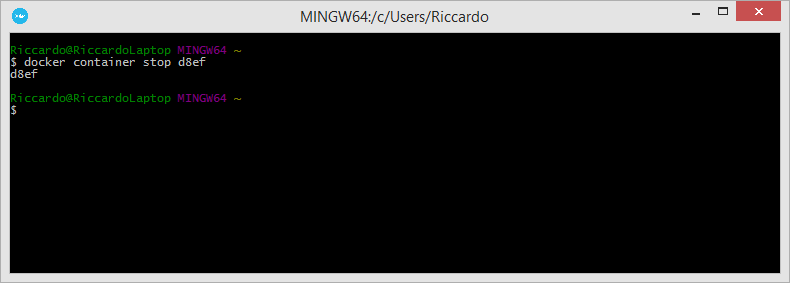
Containers can be stopped with the docker container stop command followed by the ID of the container; as the ID is very long (and unique), you can use just the first 4 characters. Stopped containers can be restarted with docker start.
The deletion of a stopped container is performed with docker container rm container-ID; note that you the container should be stopped prior to deletion and not running, albeit you can delete a running container. Similarly, docker image rm image-ID deletes an image.
One of the advantages of Docker containers is that you can run commands inside the container without setting up an SSH connection, thus avoiding a possible weak link in the overall system security. The command docker container exec container-name shell-command allows to run the shell-command inside the container, whose result is redirected to stdout and shown on screen.
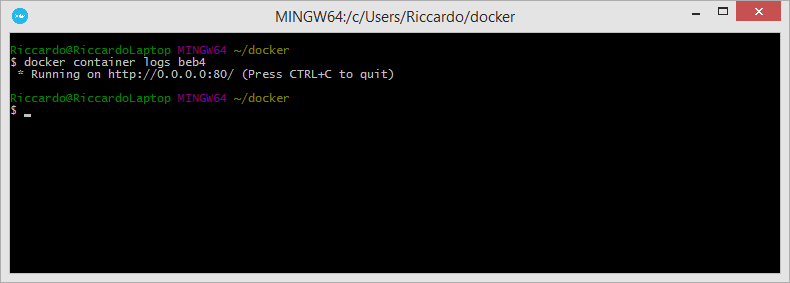
As for monitoring purposes, Docker offers the logs, top and stats commands which show, respectively, logs, running processes and information on the computational resources of the container specified as argument of the command.
Still talking about computational resources, you can assign a certain amount of a specific resource to a container when creating it or by updating an existing one with the appropriate command.
By default, a container has all the resources available to the host, and it’s easy to see how in certain cases some constraints must be placed. Further information on the topic are available at this address.